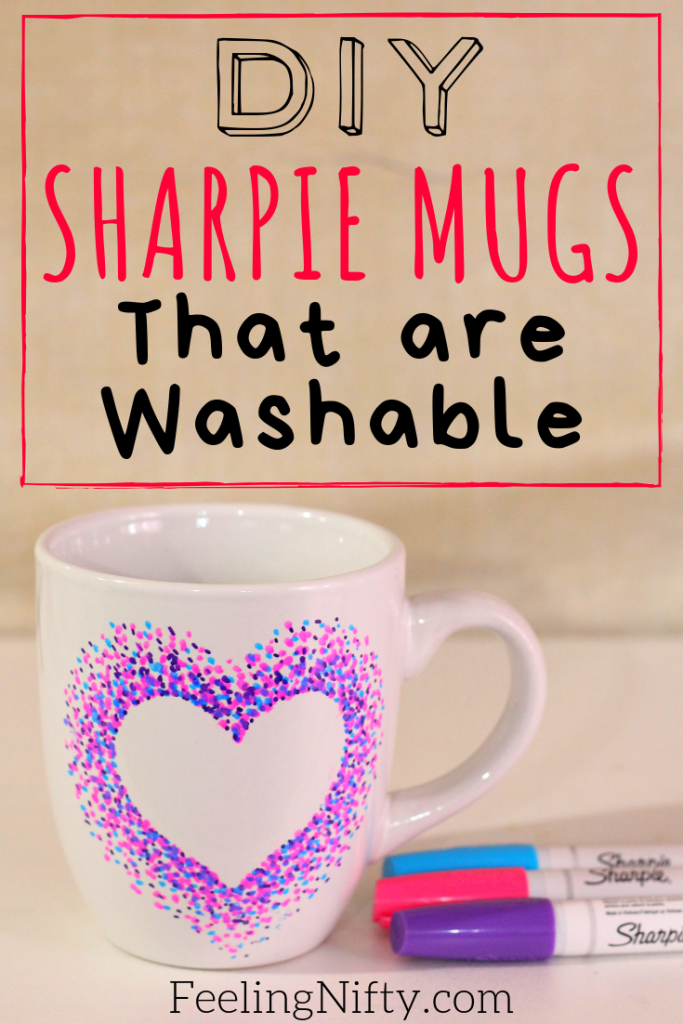
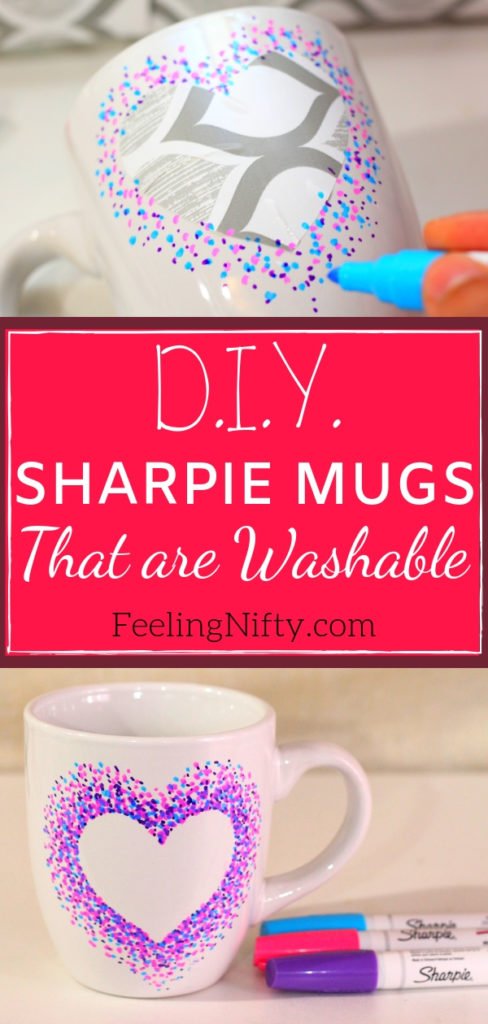
Coffee Mug Art Drawing on Coffee Cups With Sharpies
Create this beautiful, gift-worthy Sharpie mug with some simple markers and a mug. And you'll acquire what to do so your beautiful designs don't wash off!
Sharpie mugs are a super popular craft, that make neat gifts for birthdays or holidays, and would make a perfect mothers day gift! After seeing how gorgeous they are, yous might even want to brand one for yourself!
I ended up making three of them, because they were and so fun to make. Check out my mustache Sharpie mug that I gave to my husband on father's solar day!
In this tutorial, I will prove you, pace by step, how to make these super cute mugs. No fancy artistic skills needed….if you lot tin make dots with a Sharpie, and then yous can do this!
Oh yes, before we begin if you're looking for a pretty card to go along with this Sharpie mug, bank check out my cupcake liner flower menu tutorial.
What is a DIY Sharpie Mug?
If you're not familiar with what Sharpie mugs are, then your in for a treat! When I first discovered them, I was super amazed and couldn't wait to try information technology myself.
Basically you apply Sharpie markers to draw designs on a evidently mug. One time yous're happy with information technology, you broil it in the oven to ready the marking design in.
And you tin wash information technology also! You just have to brand sure y'all apply the right blazon of Sharpie, which brings me to my next bespeak…
Use a Cheap Mug
This DIY works best with cheap Dollarstore (Dollartree in particular) ceramic mugs. This is because there is less glaze on them then the paint can adhere better to the ceramic when baked in the oven).
Choose the Correct Sharpie For Mugs
To brand your Sharpie mug washable and usable, you need to brand sure you use an oil-based Sharpie marker.
Y'all tin purchase them in the store in the same department yous become the regular Sharpies from. They will say "Oil-based" on them.
If you use the regular Sharpie'southward, they will launder away when you clean them. This is because regular Sharpie's are h2o-based. Anytime water touches paints that are water-based, it tends to launder away.
Since oil and water don't mix, the oil-based paints shouldn't be afflicted by h2o touching it.
Baking it in the oven seals information technology even more than. I will talk about this in more item a little later on.
Sharpie Mug Ideas
You tin draw anything on your Sharpie mug and make it every bit custom and personalized equally you desire.
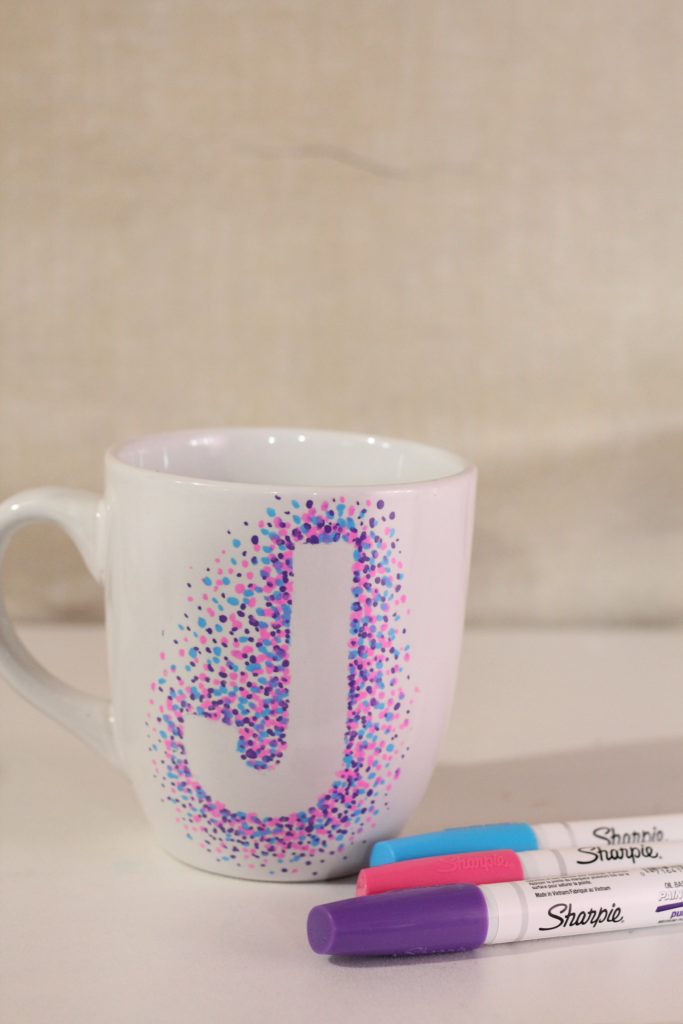
If you're looking for some great ideas, a pop trend is to create letter initials. These also make nice gifts. Like the "J" I created below.
I used a large "J" sticker from the Dollarstore to create the negative infinite while I fabricated my dots with the Sharpie.
Afterwards I lifted the sticker, I was left with the following design.

This post contains affiliate links. For more than information, see my disclaimer
Hither's a list of other ideas:
- Monogram Letter
- Shapes: hearts, star, moon, mustache etc..
- Meaningful quotes written in your handwriting
- Mandala
- Doodles (by kids or adults!)
- Stencils
The secret to getting the shape/alphabetic character looking perfect is: using stickers (like the "J" sticker above) or contact newspaper! With the contact paper, you tin cut out customized shapes and messages, peel and stick them to your mug earlier y'all begin.
I also used this method on some Dollarstore Canvases and paints, in this super easy DIY eye painting tutorial.
By the way "contact paper" is the stuff you apply to line the bottom of your kitchen shelves (yous might fifty-fifty have some at home!)
After your done your pattern work, you skin the sticker or contact paper abroad. Y'all're left with a perfect shape or letter of the alphabet with your colorful artwork around it!
It's easy peasy.
This also makes a dandy craft for kids. They can use their imagination and putter, scribble, or dot on the mug and when the sticker is lifted it will look super neat!
If you want more than inspiration, check out Cool Crafts list of l DIY Sharpie Mug ideas. Or you can bank check out Pinterest and Google.
How to Broil Sharpie Mugs
In one case your Sharpie paint is dried on your mug, the next stride is to broil it in the oven. This sets the paint even more and cures it.
An important thing to recall is to put your mug into a cold oven, so turn it on. Besides, when the time is upwards, let your mug absurd completely in the oven earlier taking it out. This prevents whatever cracks in the mug from a sudden temperature change.

In terms of the temperature and timing, broil your Sharpie mug at 250 for 2 hours.
I have gotten feedback that at higher temperatures, the colour change of the Sharpie was quite drastic (and not desirable). Since color preservation is of import, I have adjusted the baking instructions to business relationship for this factor.
If the color is absolutely important to yous, you lot tin can skip baking the Sharpie mug in the oven altogether, and just seal it with special Mod Podge (instructions below). This will result in NO colour change, plus your mug volition be wash-proof!
TIP: If you really want to prepare your design to set in, you can broil information technology in the oven twice
Disclaimer on colour change: the color of your Sharpie design tin can change color once you bake them. Some colors are more decumbent to color change. Blue's, reds and greens are more prone to changing color when exposed to high temperatures.
Sealing Your Pattern (For Wash Proofing)
While following the exact directions above should help set in the design so you can gently hand wash them, in that location are are many variables that can make these designs non concluding as long such as not cleaning your mug with rubbing alcohol prior to painting, non waiting the full 48 hours for paint to dry using the right oil-based Sharpies, quality of mugs, oven temperature variability, etc..
To make sure your pattern is extra resistant and washable (fifty-fifty top-rack dishwasher rubber), add a finishing coat of this Dishwasher Rubber Mod Podge.
You tin even skip baking your Sharpie in the oven and but seal it with Modge Podge directly. I kept the instructions for baking it, for those who don't have access to this Mod Podge.
Practise NOT Use the regular Modernistic Podge. Use the one in the link in a higher place, it is made specifically formulated to withstand dishwashing.
Instructions on how to apply the Mod Podge is in the tutorial below

Caring For Your Sharpie Mug
By using oil-based Sharpie markers and baking them in the oven, y'all should be able to gently hand wash your mug without the paint washing away. You lot can use regular dish soap and warm h2o to clean.
DO Non put in the dishwasher unless you seal them.
If you actually want to make these cups Dishwasher safe, or make designs concluding longer, add a finishing coat of this Dishwasher Prophylactic Mod Podge over your design. Instructions in the tutorial below.

Now that you're armed with some important info on making a DIY Sharpie Mug that's washable, let's become to the tutorial!
How to Make a DIY Sharpie Mug
Materials
- Obviously Ceramic mug
- Oil-based Sharpie Markers
- Rubbing alcohol or nail smooth remover
- Sticker of your shape or contact paper
- Oven
- Dishwasher Rubber Mod Podge.
Step by Step Tutorial
1. This step is important: Take rubbing booze or blast polish remover and wipe your mug earlier you begin. This helps to make sure the mug is free from oils and dirt, and then the pigment tin attach properly to the mug
If you lot skip this footstep, the paint won't stick properly on the mug, risking your design peeling off when washed.
Besides, while making your design on the mug, brand sure you don't bear on the areas where you lot want your blueprint to go (it volition add natural oils to the mug). You can wear not-latex gloves equally added protection if you're really worried.
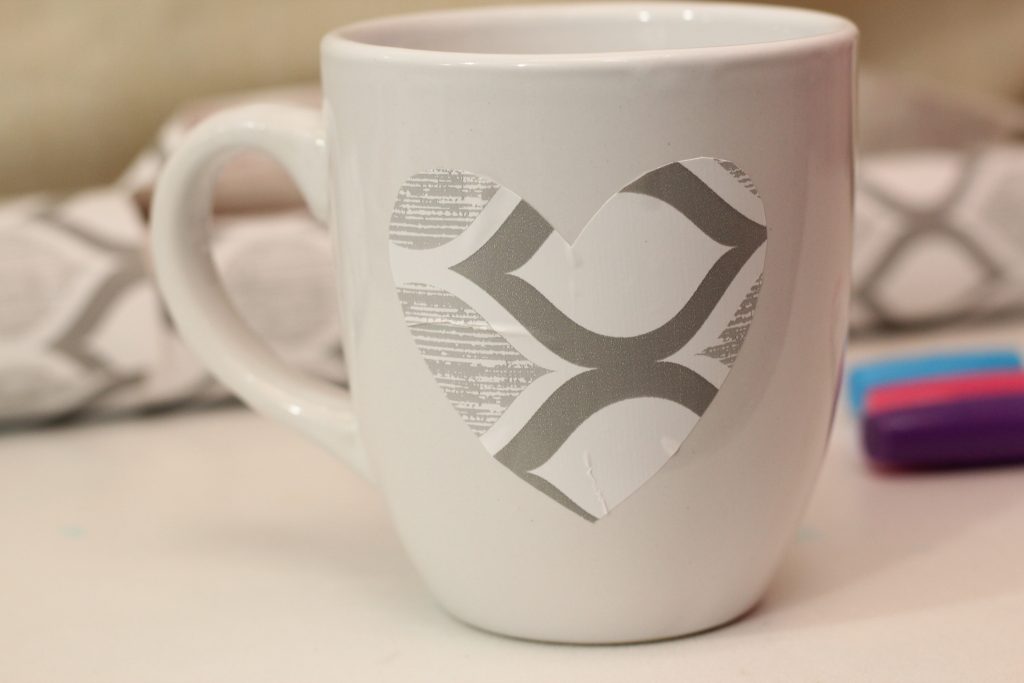
2. Place your sticker on your mug. If you don't have a big enough sticker, you tin can hands make one with some contact newspaper ( the stuff you line cupboard shelves with). You can grab some from the Dollarstore.
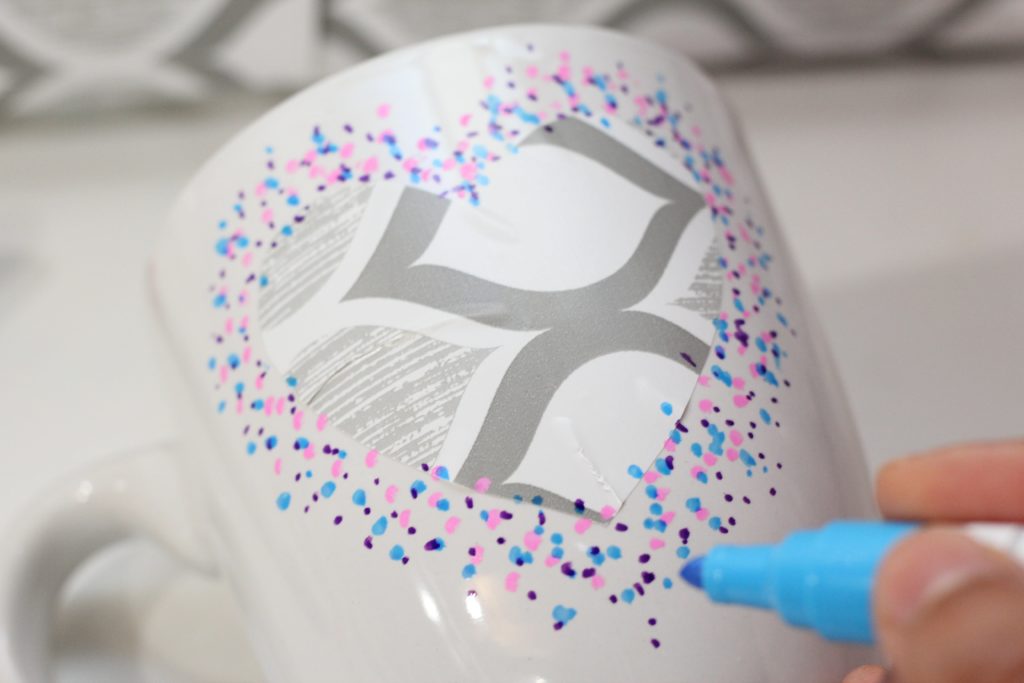
3. Now take your Sharpies and put dots all around your sticker. I chose pink, purple and blue colors. To make a cool effect, focus on making the dots more concentrated near the edges of the sticker, and fewer dots the further you become away from the sticker. This will requite a starburst like effect.
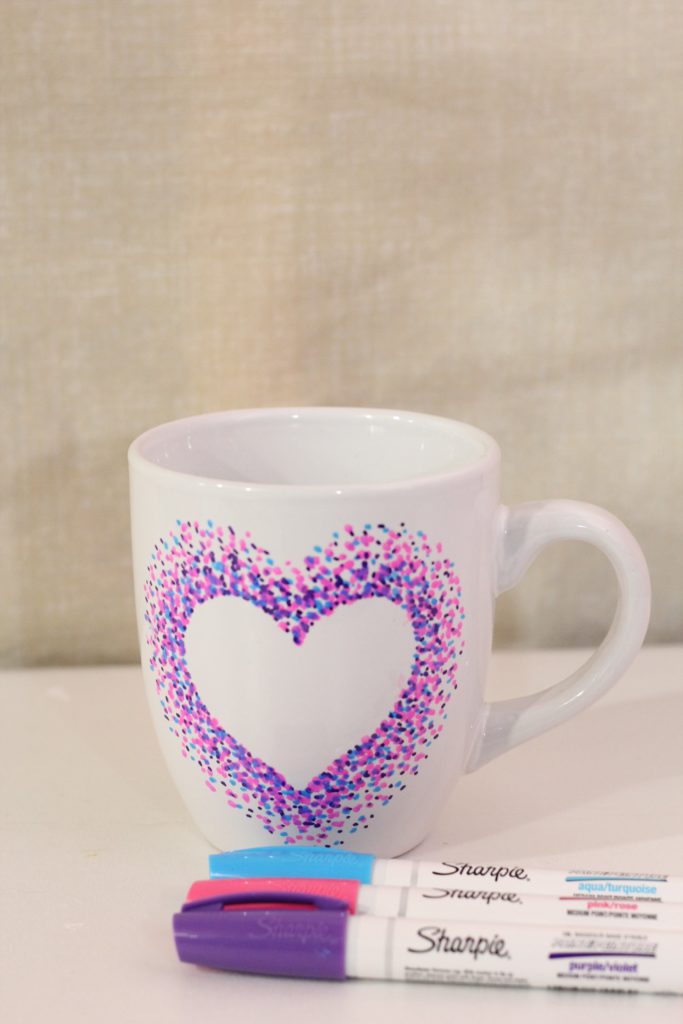
four. In one case you're happy with the pattern, peel away the sticker. If any of the markers got under your shape or letter design, you can use a q-tip and rubbing alcohol to wipe away the excess marker.
5. Leave your mug to dry for 48 hours. This is important. It takes this long for the paint to fully dry out. This volition let the paint adhere to the mug properly.
7. Go out the mug to broil for 1 hr. In one case the 60 minutes is up, turn the oven off.
6. After 48 hours has passed, it'southward fourth dimension to bake your mug. Put your mug in a common cold oven then plough information technology to 250 degrees. Allow it cook for 2 hours. One time two hours are passed turn the oven OFF.
eight. Let the mug cool completely, IN THE OVEN. Once cooled accept it out.
ix. Your Sharpie Mug is now done!
Alternative To Oven blistering
If y'all want to ensure your blueprint is sealed properly yous can skip the oven method and use Dishwasher Safe Modern Podge correct over top of your Sharpie blueprint. This will also brand your mug design dishwasher safe. Let each coat dry out for 1-ii hours before applying the next. Cure for 28 days to make Dishwasher Safe.
Notation: I used my mug once the Mod Podge dried, I merely fabricated sure I gently hand washed information technology. I waited closer to 28 days before putting it in dishwasher.
Actress Safety Precaution with Mod Podge: While this Mod Podge is non-toxic and waterbased, it is not FDA approved every bit a food-safe material, and then do not apply it where it tin be in contact with your lips (leave about one/four to i/ii inch from top of cup, Mod Podge free) or on the within of your cup (where the liquid is).

And that'south it! You now everything nigh making your very own DIY Sharpie mug.
Until next time…stay Nifty!
If you lot liked this postal service, Pin it!
Source: https://feelingnifty.com/sharpie-mugs-diy-tutorial/
0 Response to "Coffee Mug Art Drawing on Coffee Cups With Sharpies"
Post a Comment